TP-LINK TL-WR842+ 无线路由器当作无线交换机使用 路由器
时间:2023/12/24作者:未知来源:争怎路由网人气:
- TP-LINK路由器是经典的11n无线路由器,集有线无线于一体,符合802.11n(Draft 2.0)标准。采用MIMO技术,可提供更好的无线传输性能、稳定性和无线覆盖范围。同时采用CCA技术,能自动避开频道干扰并充分利用频道捆绑优势。
TP-LINK TL-WR842+ 无线路由器当作无线交换机使用
第一步:设置电脑连接路由器
将设置电脑连接到TL-WR842+的LAN口,确保电脑自动获取到IP地址和DNS服务器地址。
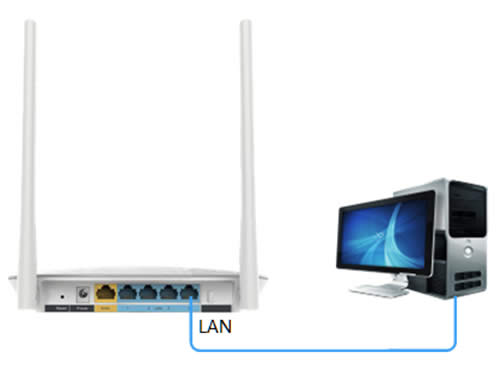
注意:为了避免IP地址或DHCP服务器冲突,此处暂不将TL-WR842+连接到前端网络。
第二步:修改无线参数
1、跳过设置向导
首次设置路由器,登录管理界面后,需要跳过设置向导,如下图:
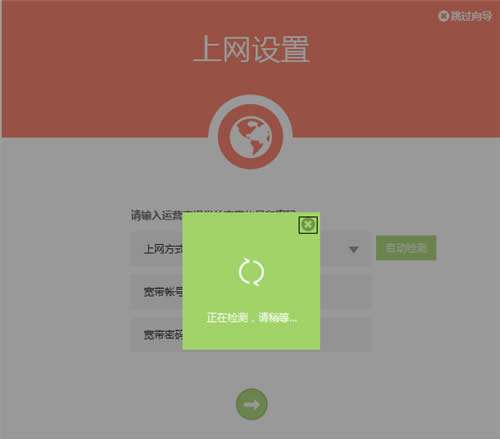
注意:如果路由器已经设置过,直接进行下一步。
点击 跳过向导,如下图:

2、设置无线参数
点击主页面下放的 无线设置,如下图:

设置无线名称、无线密码,点击 保存,如下图:
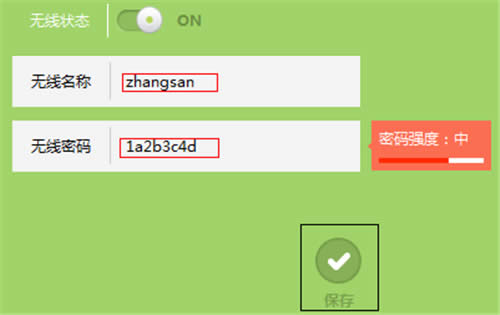
注意:无线名称不建议设置中文或特殊字符,无线密码至少8位,为保证网络安全,保证密码强度较强。
第三步:关不DHCP服务器
1、点击 高级设置,进入设置界面,如下图:

2、点击 网络参数 >> DHCP服务器,如下图:
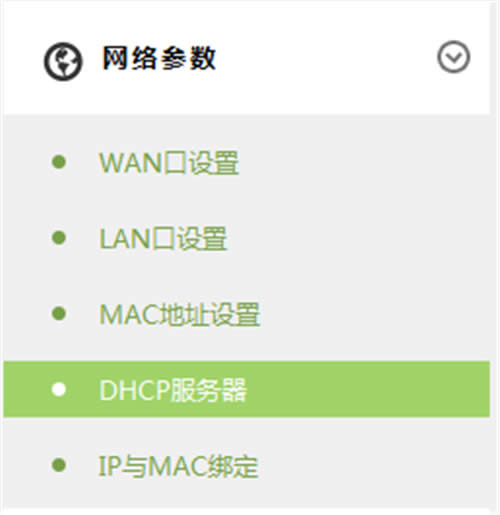
3、点击关闭DHCP服务器,如下图:

第四步:修改LAN口IP地址
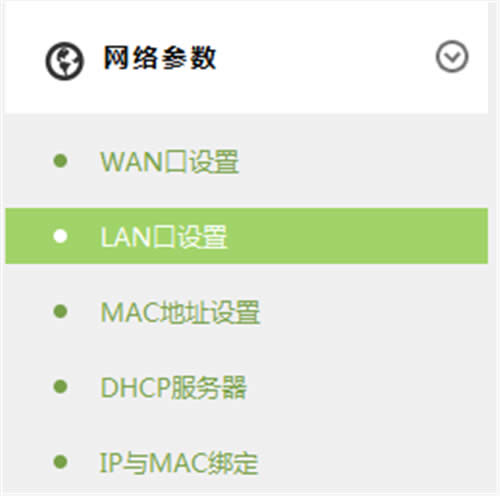
1、点击 网络参数 >> LAN口设置,如下图:
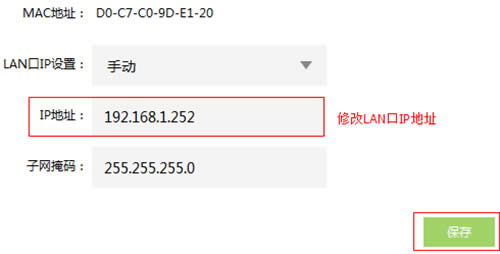
2、LAN口IP设置中选择 手动,如下图:

3、将IP地址修改为与当前网络同网段(本例假设:当前网段为192.168.1.x,且252没有被占用),点击 保存,如下图:
4、保存之后,路由器在配置IP地址,如下图:

完成后,重启路由器。
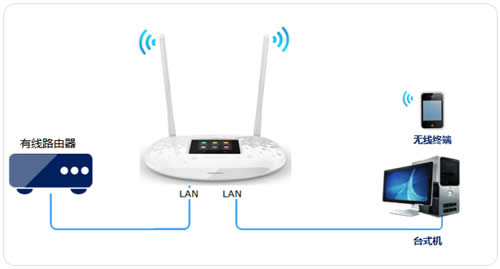
第五步:按照拓补连接网络
至此,路由器部分设置完成,将路由器接入已有网络。
连接方法:将TL-WR842+的LAN口(即1~4号接口)与前端路由器的LAN口(或局域网交换机)相连。
至此当无线交换机(无线AP)使用已经设置完毕,无线终端可以连接上TL-WR842+的无线网络上网。
TP-LINK无线路由采用UFO幽浮外观,造型时尚;信号灵敏、界面友好、功能强大、安全放心。它性价比很高,适合家庭、学生、商务人士使用。
关键词:TP-LINK TL-WR842+ 无线路由器当作无线交换机运用 路由器