账号VLAN设置图文详细教程
时间:2024/11/11作者:未知来源:争怎路由网人气:
第一步:在网络设置--VLAN设置里面添加好VLAN。
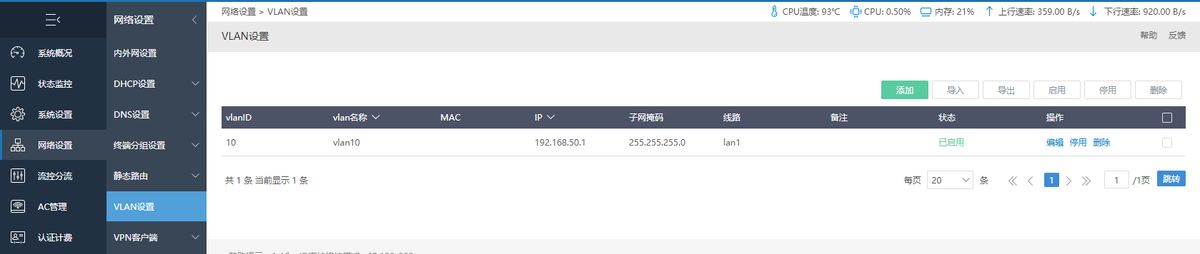
第二步:在网络设置--dhcp设置里添加好VLAN。

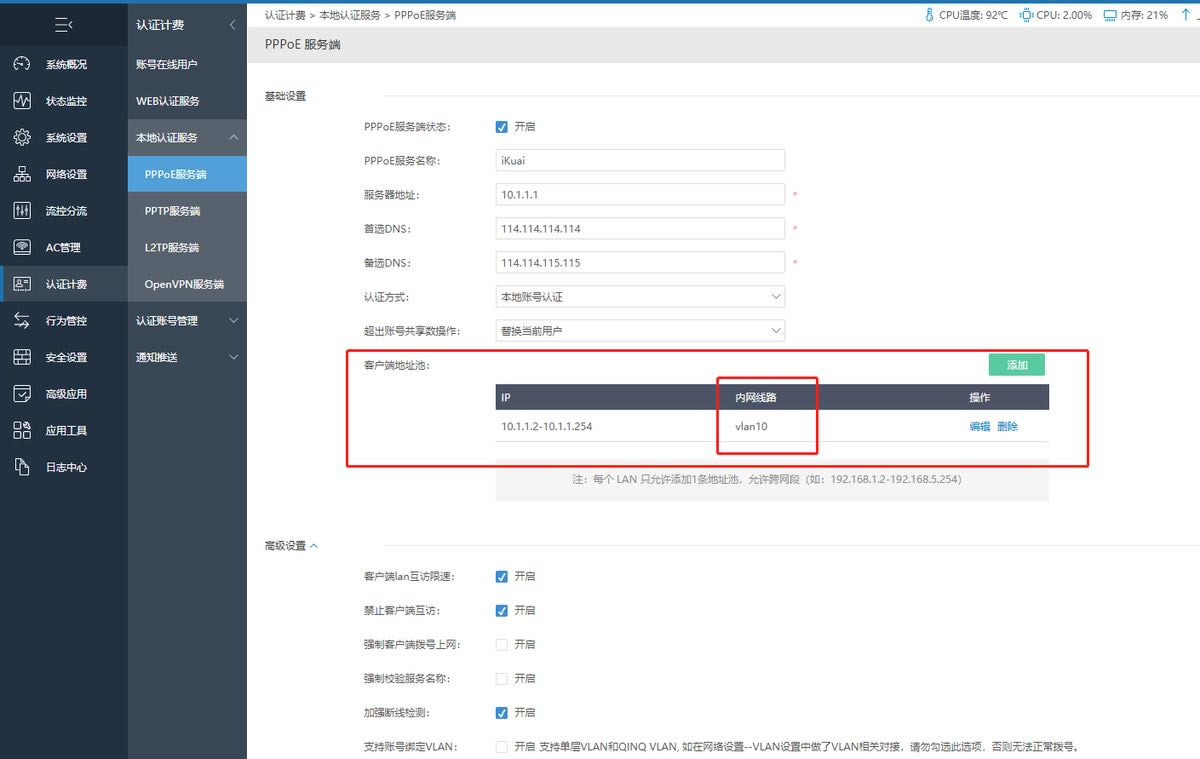
第三步:在认证计费--本地认证服务--PPPoE服务端,PPPoE服务端状态开启,客户端地址池的内网线路选择对应的VLAN接口,其他设置可以默认。
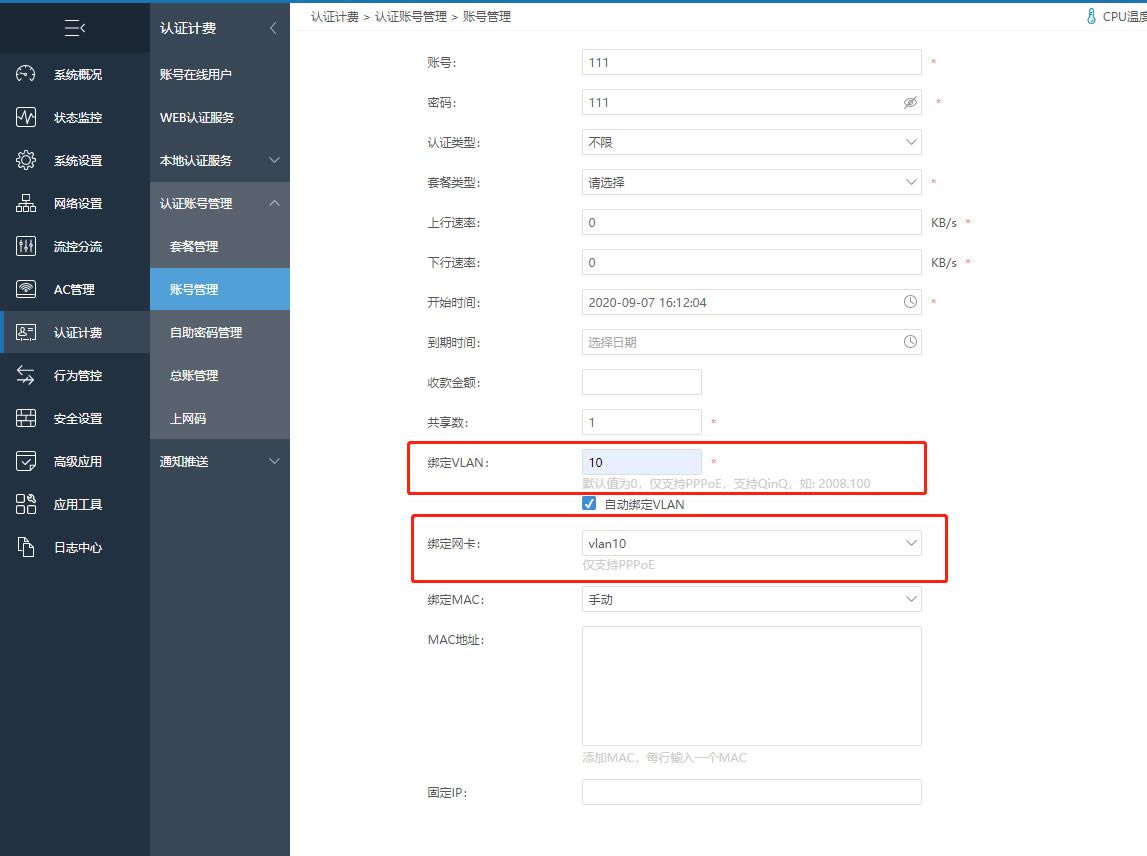
第四步:在认证计费--本地认证服务--认证账号管理--账号管理。添加好账号密码之后绑定VLAN或者绑定网卡,填写对应的VLAN名称(注意:绑定VLAN和绑定网卡只能任选一个进行填写)。
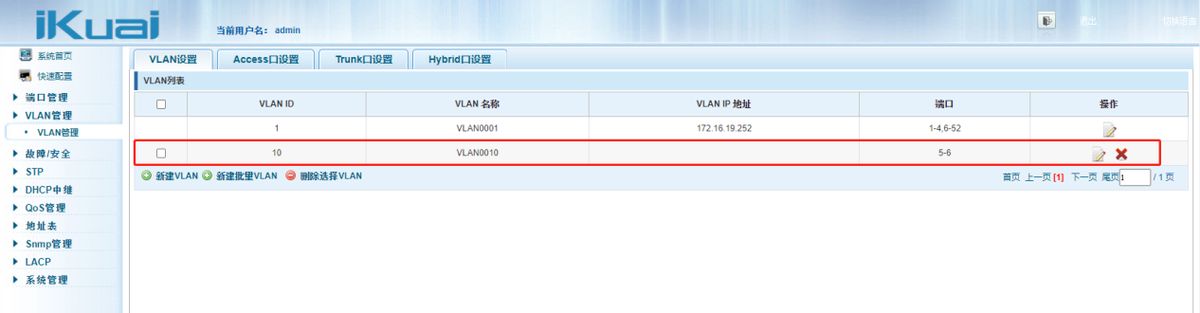
交换机:以爱快J5052交换机为例。
第五步:在交换机VLAN设置里添加设备使用的VLAN端口以及VLANID。
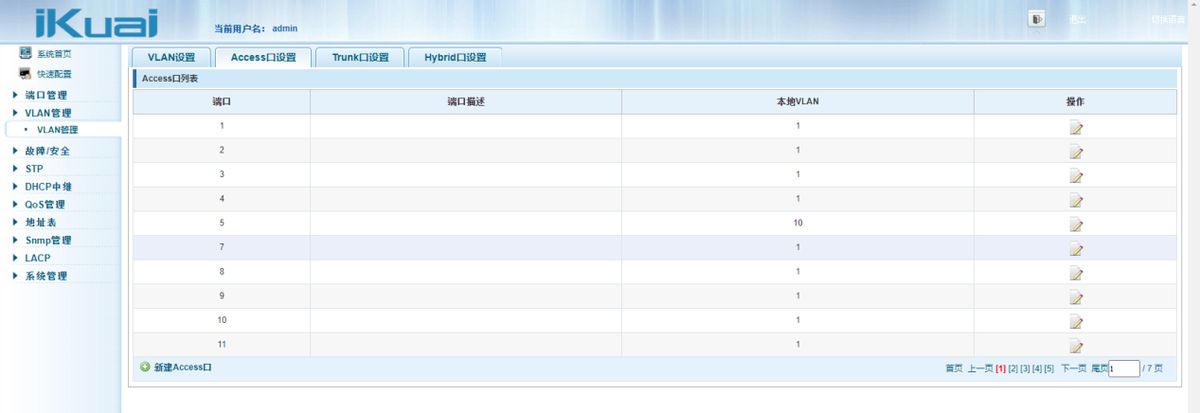
第六步:交换机access设置里面选择对应接口并且填写对应的本地VLAN。
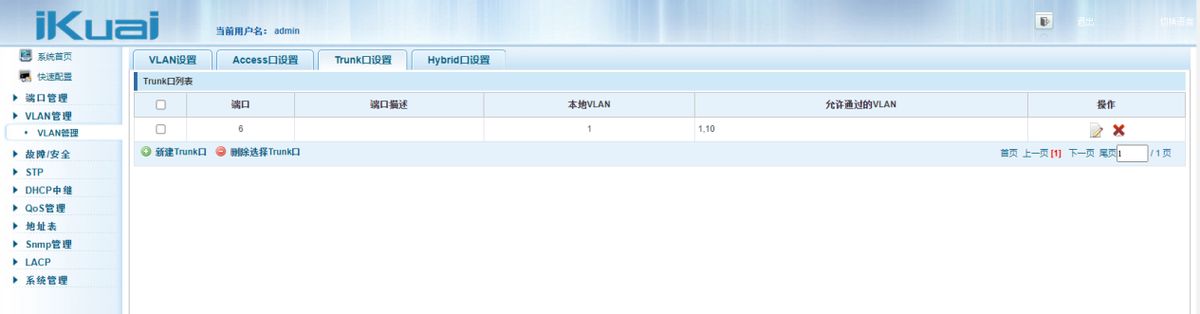
第七步:添加trunk,选择对应口为trunk并且允许VLAN通过。
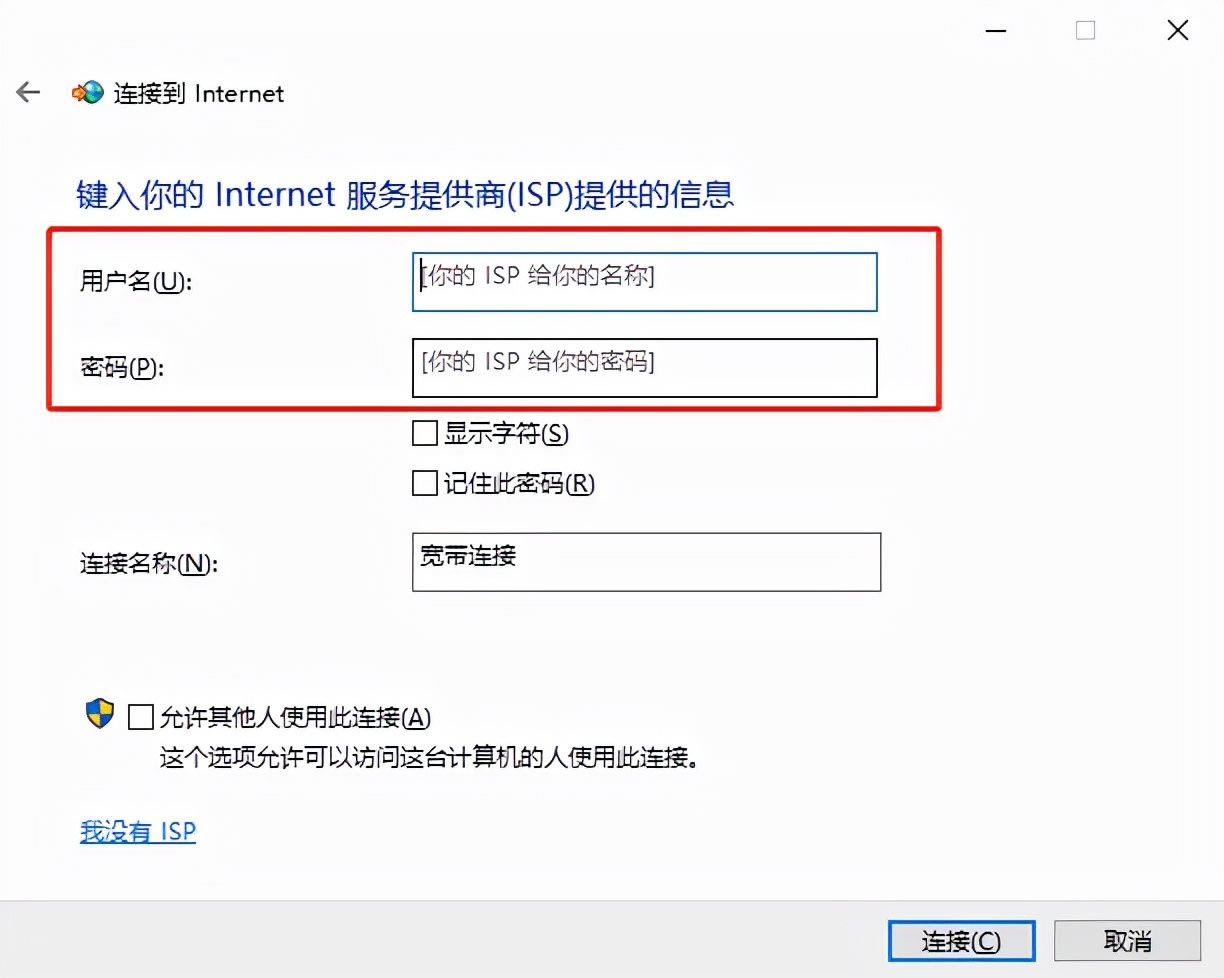
第八步:在设备上进行拨号。
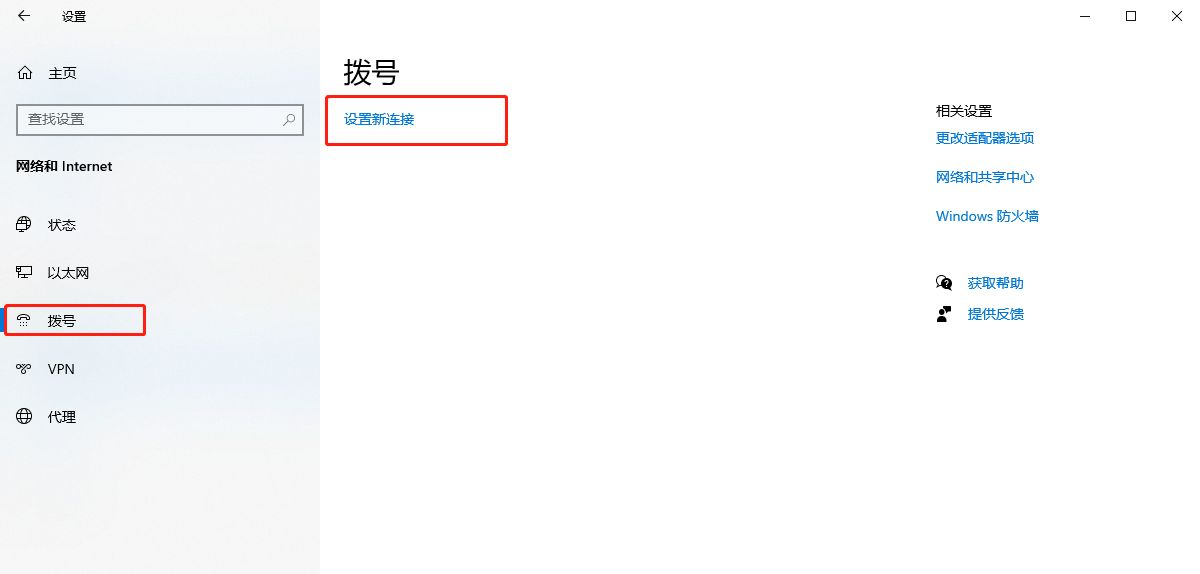
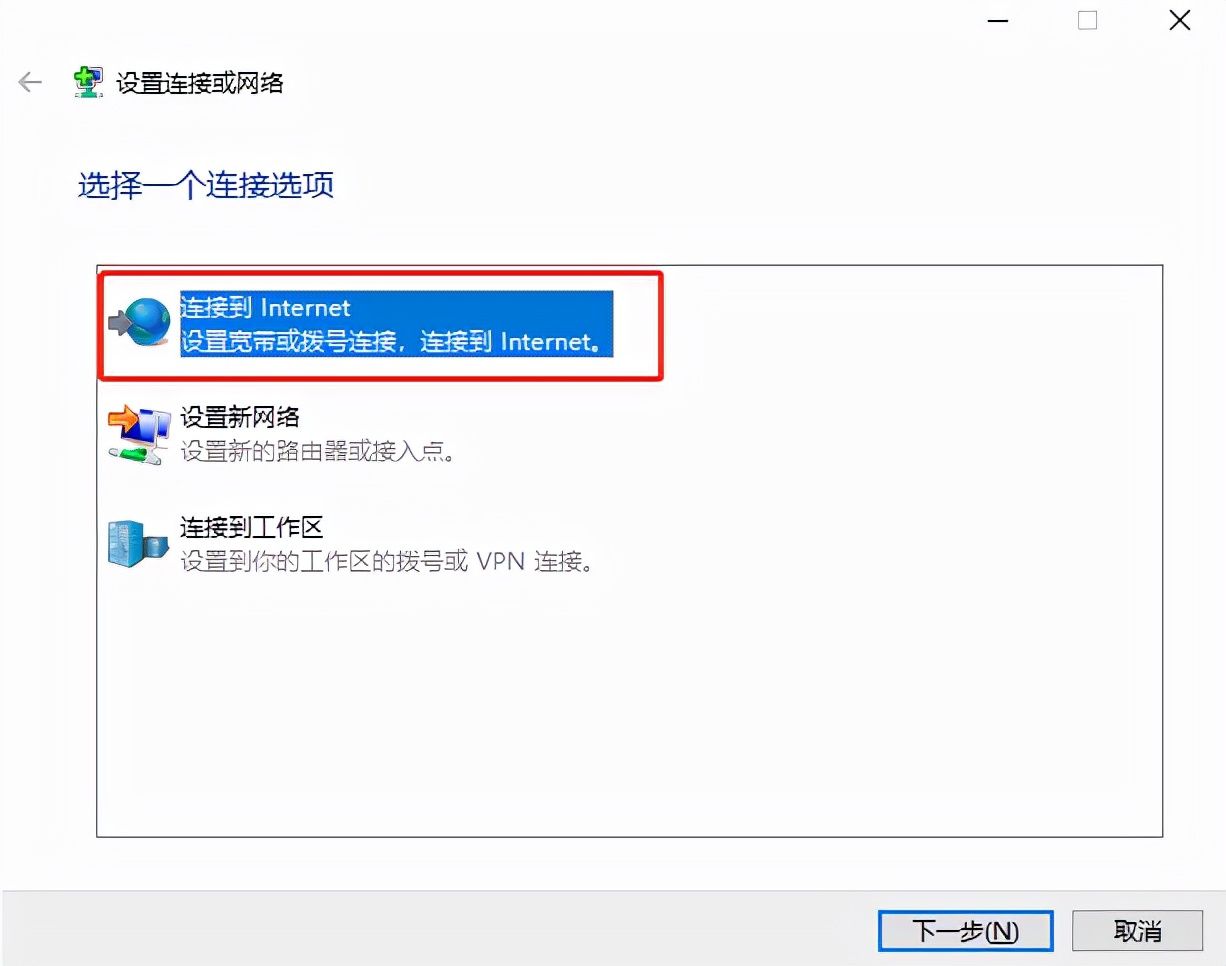
填写在路由上设置的账号密码然后进行连接。
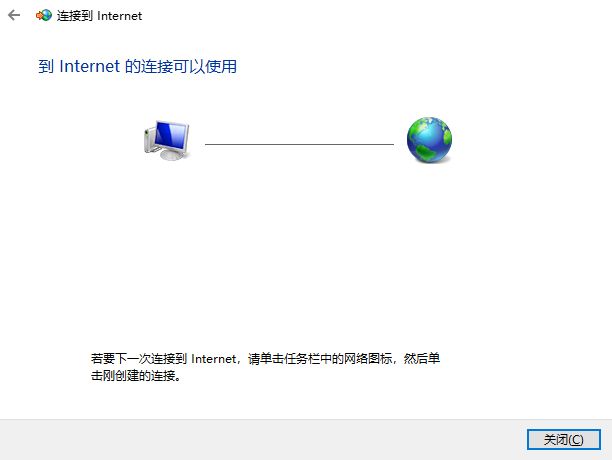
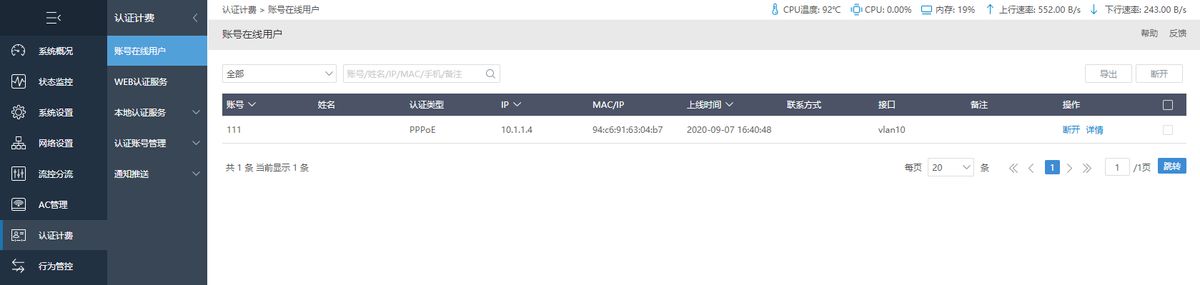
这样就连接成功了,在路由认证计费--账号在线用户里面也能看到这个账号。
关键词:账号VLAN设置图文教程