重温儿时的回忆 用Photoshop合成“花仙子”
时间:2024/3/13作者:未知来源:争怎路由网人气:
- Adobe Photoshop,简称“PS”,是由Adobe Systems开发和发行的图像处理软件。Photoshop主要处理以像素所构成的数字图像。使用其众多的编修与绘图工具,可以有效地进行图片编辑工作。ps有很多功能,在图像、图形、文字、视频、出版等各方面都有涉及。图形(Graph)和图像(Image)都是多媒体系统中的可视元素,虽然它们很难区分,但确实不是一回事。
文/唯美风格
今天我们来做一个简单的Photoshop图片合成练习:一朵鲜花、一个桌面上的卡通娃娃,再加上我们自己设计的背景,合成一个可爱的花仙子。
设计流程:
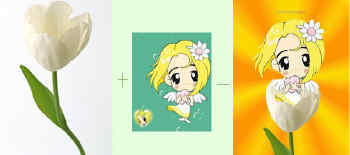
效果图一、背景部分(主要用的是极坐标、特殊模糊、径向模糊)
1、首先在Photoshop中新建一张RGB模式的画布,背景填充为黄色(图1)

图1 填充背景为黄色2、新建一个图层,选择矩形选区工具,按住Shift键,在画布上建立多个矩形选区,并用橙色填充。(图2)
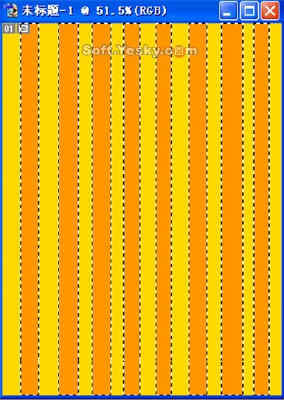
图2建立多个矩形选区3、按Ctrl+D取消选区,执行命令滤镜-扭曲-极坐标命令(图3),得到的效果 如(图4)。
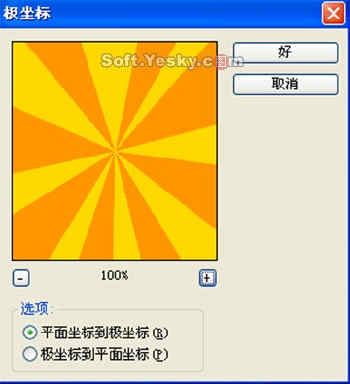
图3 极坐标滤镜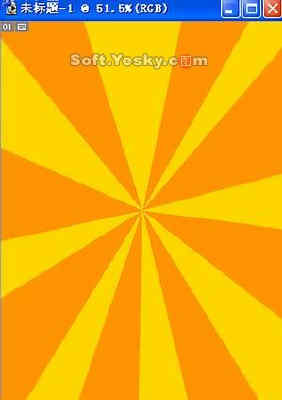
图4 极坐标效果
点击此处查看其它图片4、执行滤镜-模糊-特殊模糊(图5),得到的效果如图6 。
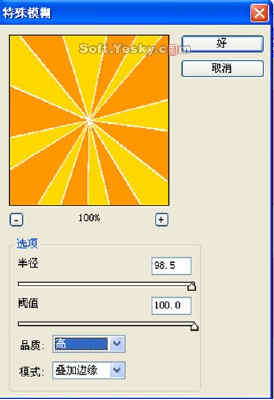
图5 特殊模糊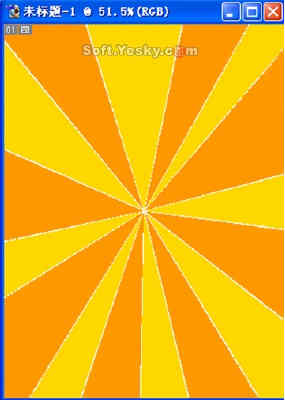
图6 特殊模糊后效果5、滤镜-模糊-径向模糊(图7),得到的效果如图8,背景制作就完成了。
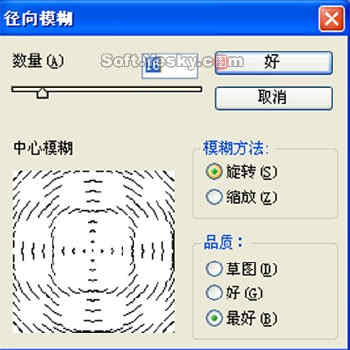
图7 径向模糊设置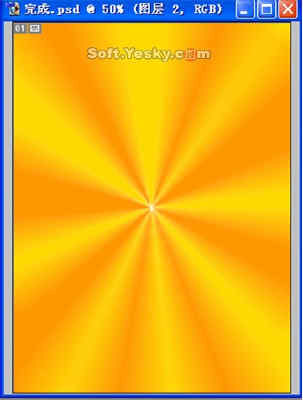
图8 径向模糊后的效果二、抠取素材(主要用到磁性套索工具朵抠图)
6、打开一张花朵的图片(图9)。
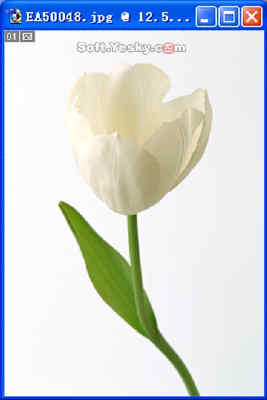
图9花朵7、用鼠标拖拽到刚才做好的背景上,选择磁性套索工具,将花朵选取(图10)。
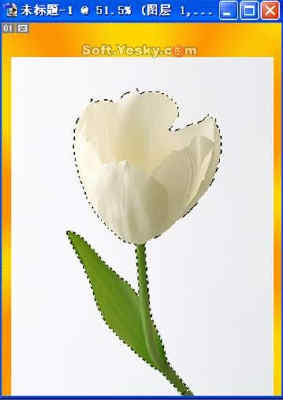
图10 用磁性套索工具选取花朵8、按Ctrl+Shift+I选择反选,去掉花朵周围的白色,并把它放在合适的位置(图11)。

图11调整花朵在图中的位置9、打开一张卡通图片(图12)。
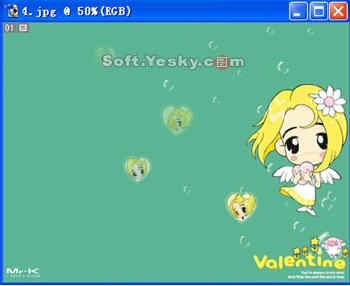
图12卡通10、用第7、8步的方法将卡通人物选取出来(图13)。
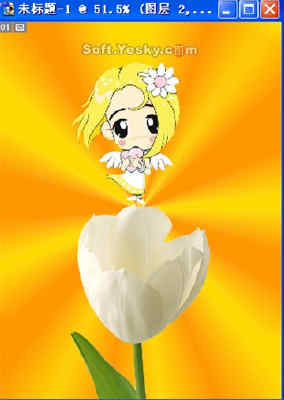
图13 选出卡通人物11、调整他在图中的位置(图14)
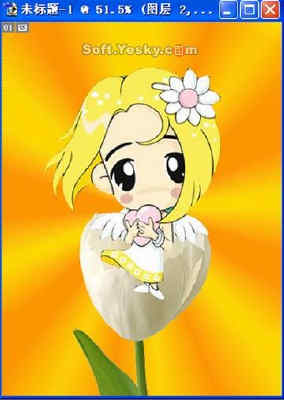
图14 调整卡通人物在图中的位置三、合成(主要用到移动,可以将三个图层链接起来,按F7图层控制面板,将图层链接(图19)。
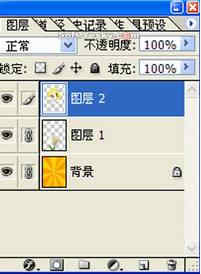
图19 链接图层17、最后一步,设置花朵图层和卡通图的的混合模式为柔光(图20)。
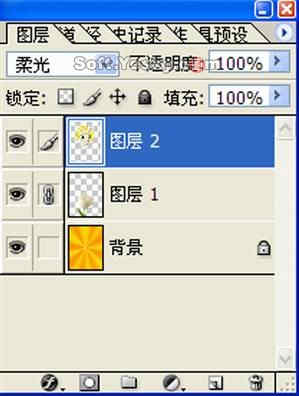
图20 设置花朵图层和卡通人物图层模式为柔光最后完成。

完成效果Photoshop默认保存的文件格式,可以保留所有有图层、色版、通道、蒙版、路径、未栅格化文字以及图层样式等。
关键词:重温儿时的回忆 用Photoshop合成“花仙子”