Photoshop调出闪亮有光泽肌肤色彩模特照片
时间:2024/4/13作者:未知来源:争怎路由网人气:
- Adobe Photoshop,简称“PS”,是由Adobe Systems开发和发行的图像处理软件。Photoshop主要处理以像素所构成的数字图像。使用其众多的编修与绘图工具,可以有效地进行图片编辑工作。ps有很多功能,在图像、图形、文字、视频、出版等各方面都有涉及。图形(Graph)和图像(Image)都是多媒体系统中的可视元素,虽然它们很难区分,但确实不是一回事。
原图的质量和颜色都很好,非常好的一个素材,所以我们就不需要进行磨皮操作了,主要在颜色方面调整,调整一种我们想要的效果,一种质感的黄肤色效果图,喜欢的朋友让我们一起来学习吧。
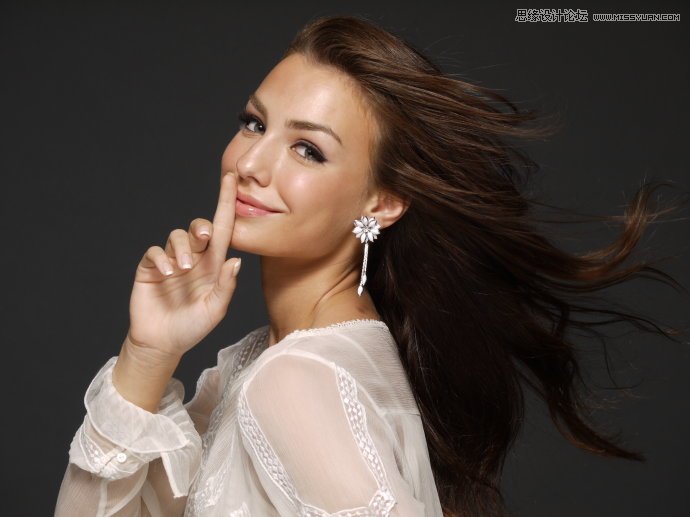
我完成的效果
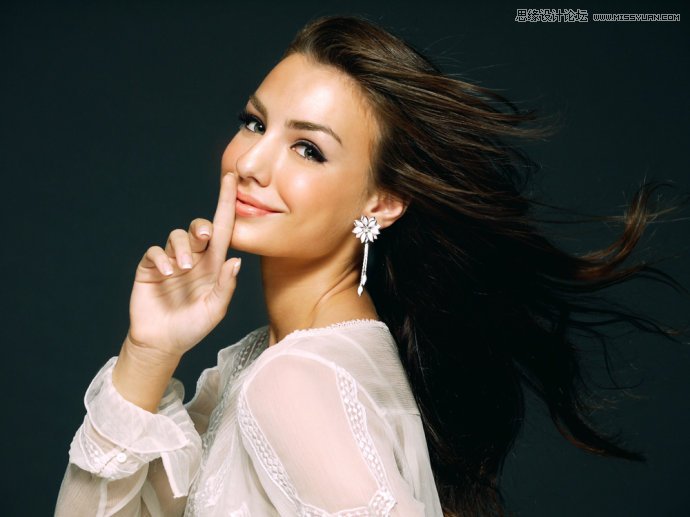
原素材
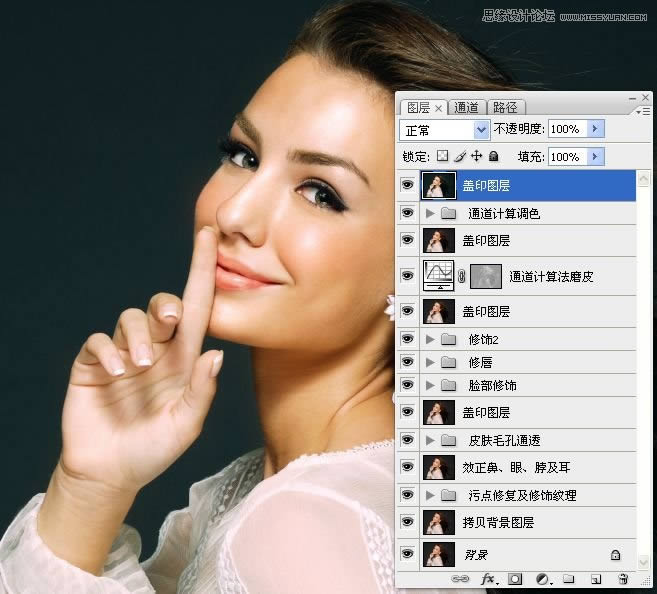
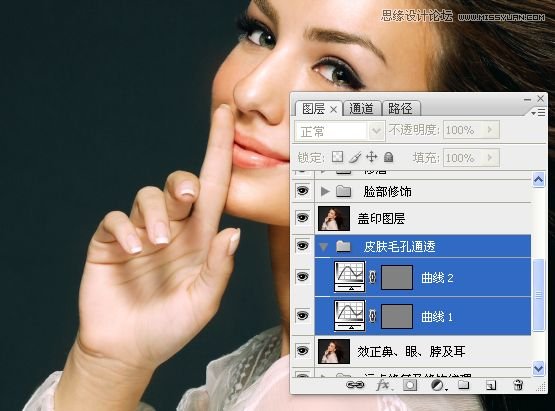
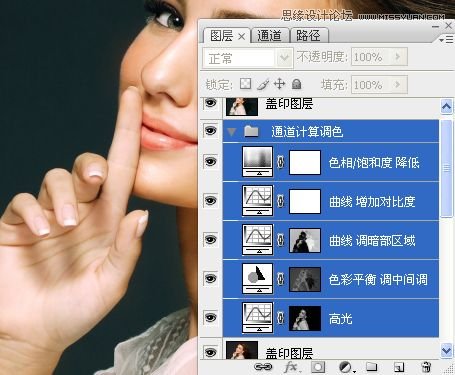
我的面板:
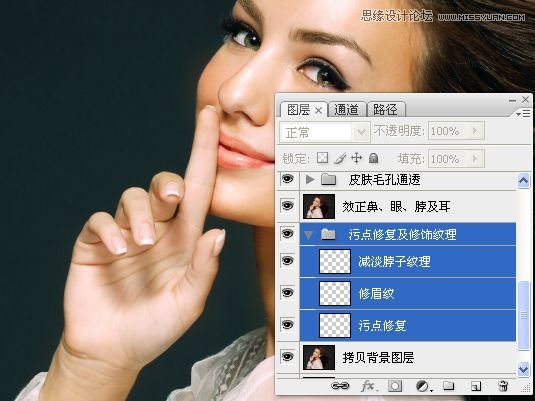
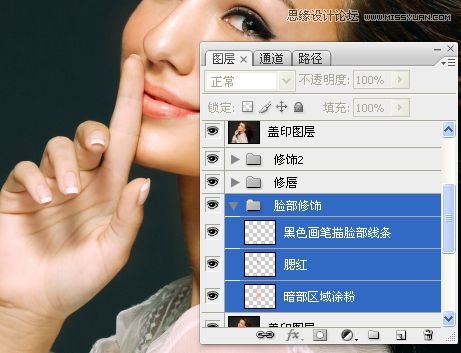
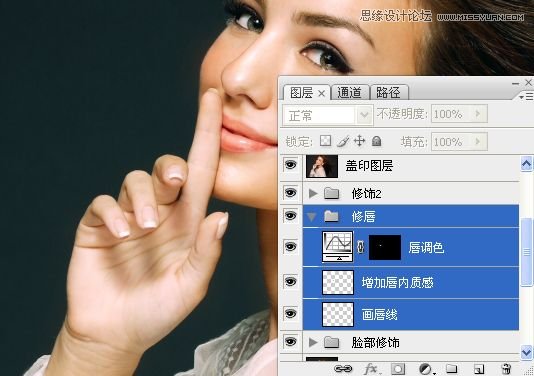
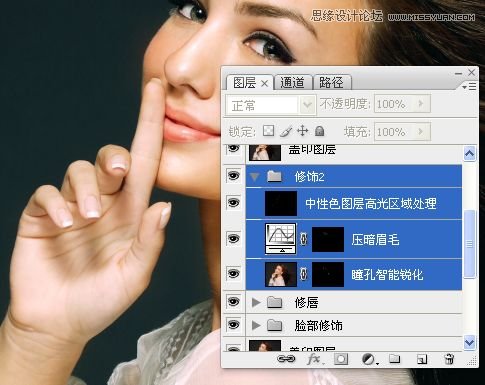
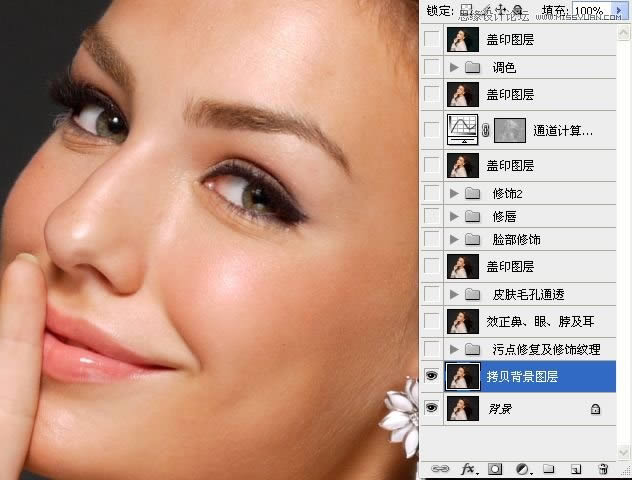
各个组内的图层:
操作步骤:
1.拷贝背景图层。
2。建立一空白图层,污点修复等工具修复皮肤污点。
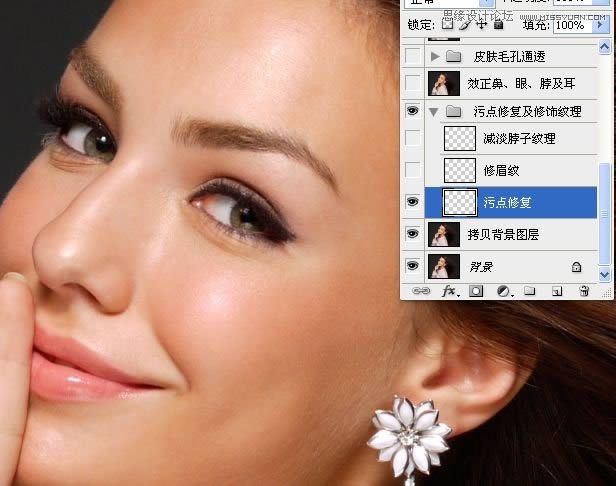
2。修复画笔工具、仿制图章工具减淡眼睛下方的皱纹。
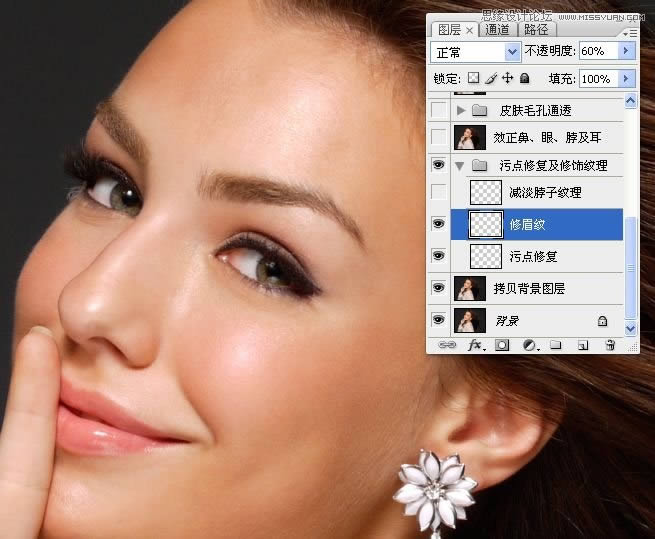
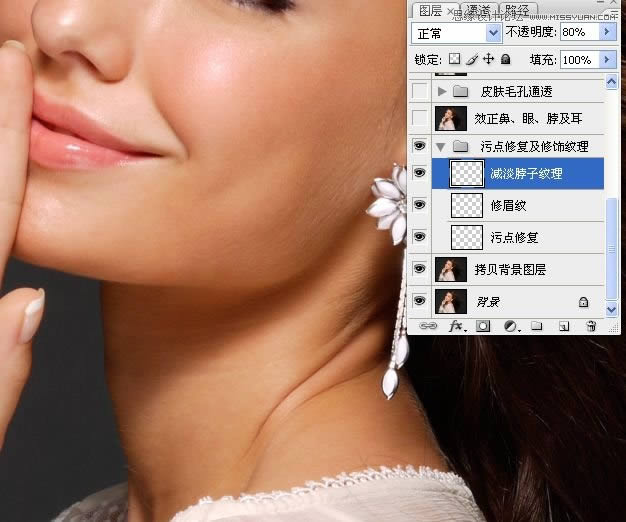
3。修复画笔工具、仿制图章工具减淡脖子上的深纹。
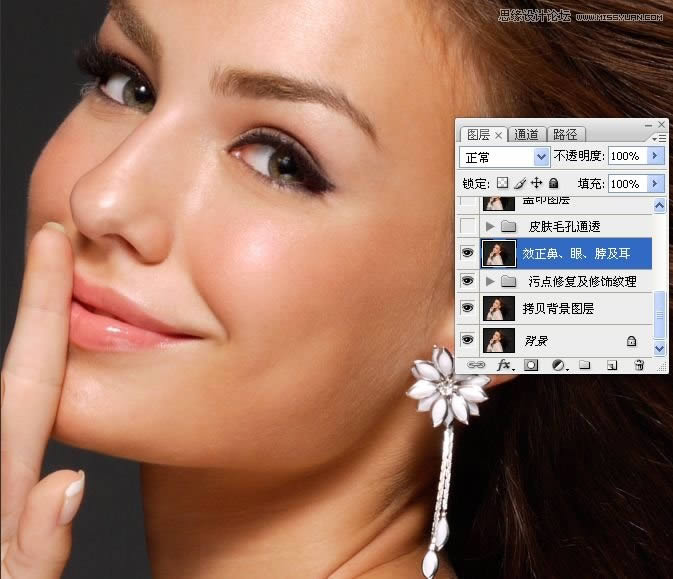
4。选取鼻头,执行“球面化”滤镜操作。执行“液化”滤镜,对眼、鼻、耳及脖子进行处理。
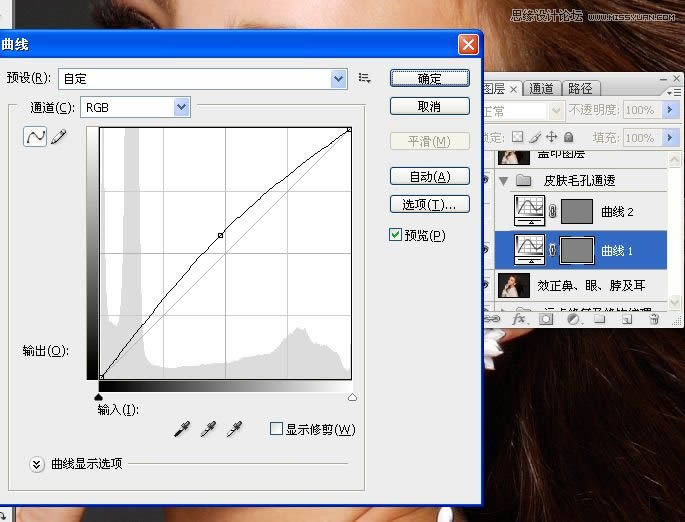
5。进入通道面板,复制蓝通道为蓝副本通道。对蓝副本通道执行高反差保留命令,载入蓝副本选区,执行曲线命令。
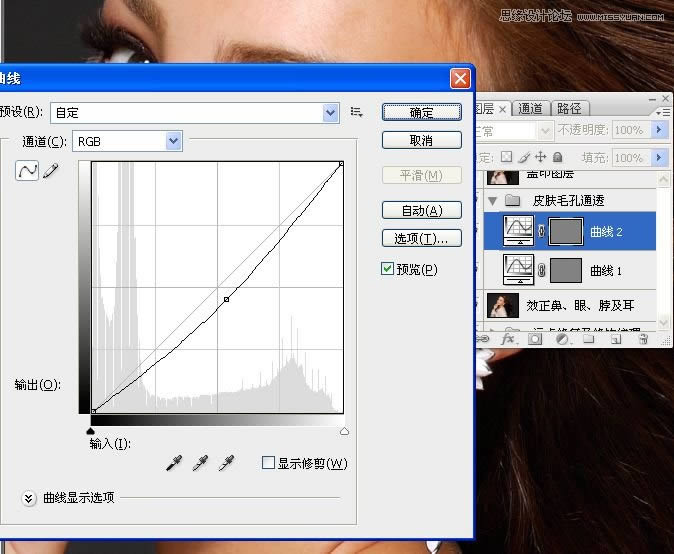
6。再次载入蓝副本选区,反选,执行曲线命令。
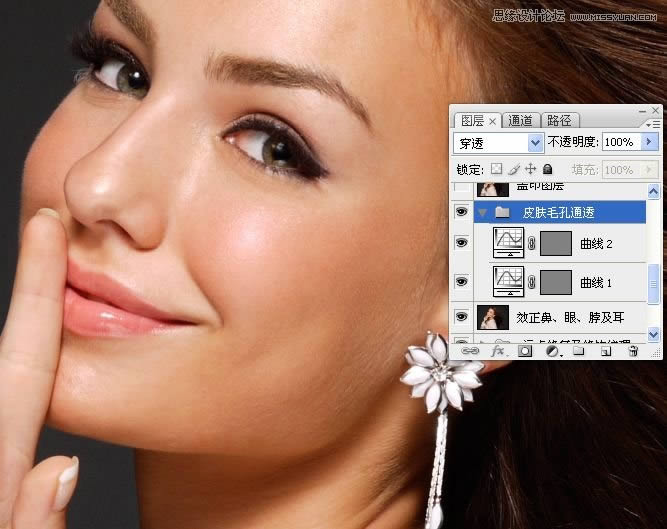
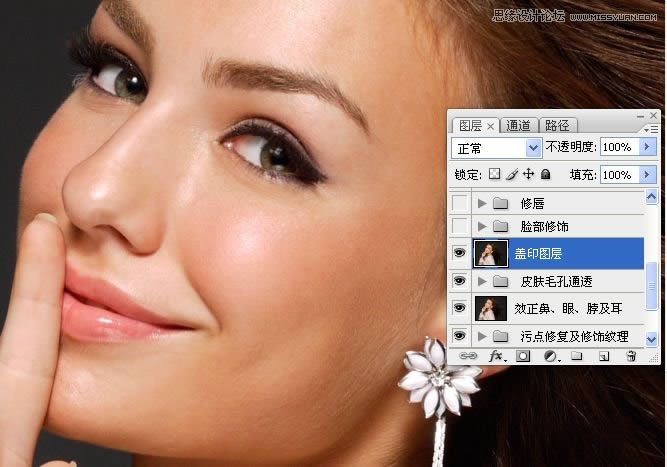
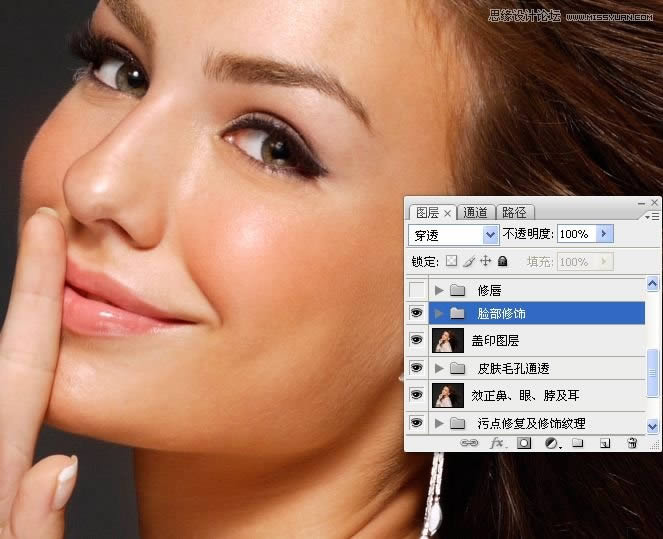
7。盖印图层。
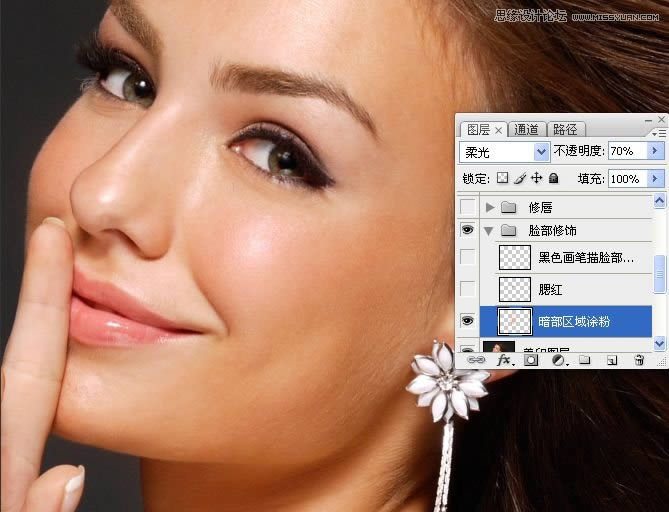
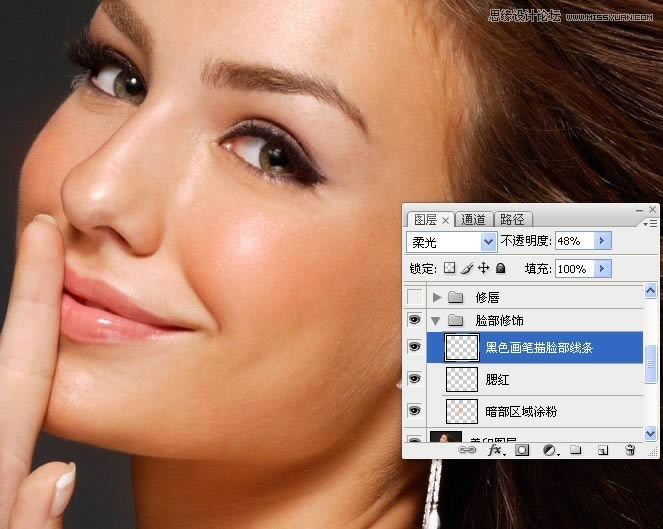
8.吸管工具吸取皮肤色,新建一空白图层,设置混合模式为柔光,用画笔涂抹脸部皮肤暗部,高斯模糊,不透明度70%。
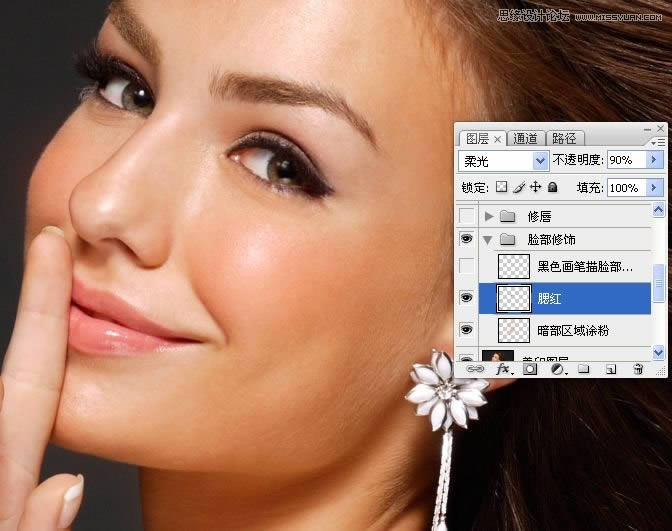
9。吸管工具吸取嘴唇色,新建一空白图层,设置混合模式为柔光,用画笔工具涂抹腮红,高斯模糊,其它设置如图。
10。设置前景色为黑色,新建一空白图层,设置图层混合模为柔光,适当设置画笔的流量及不透明度,用画笔涂抹出脸部轮廓线,高斯模糊。
关键词:Photoshop调出闪亮有光泽肌肤色彩模特照片