把可爱女孩头像照片转手绘效果的PS图文详细教程
时间:2024/4/3作者:未知来源:争怎路由网人气:
- Adobe Photoshop,简称“PS”,是由Adobe Systems开发和发行的图像处理软件。Photoshop主要处理以像素所构成的数字图像。使用其众多的编修与绘图工具,可以有效地进行图片编辑工作。ps有很多功能,在图像、图形、文字、视频、出版等各方面都有涉及。图形(Graph)和图像(Image)都是多媒体系统中的可视元素,虽然它们很难区分,但确实不是一回事。
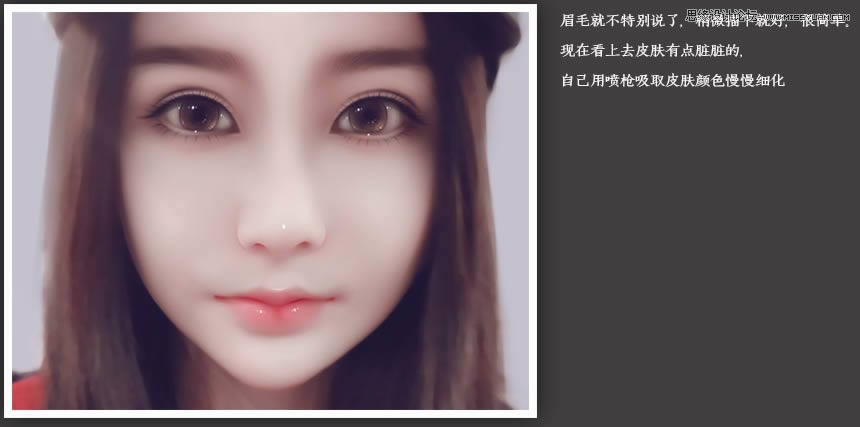
素材图片为晚上拍摄,人物脸部受光不是很足,清晰度不够,转手绘就有一定的难度;只能在原有基础上,重新画一遍,一些丢失的细节部分,需要自己慢慢画出来。
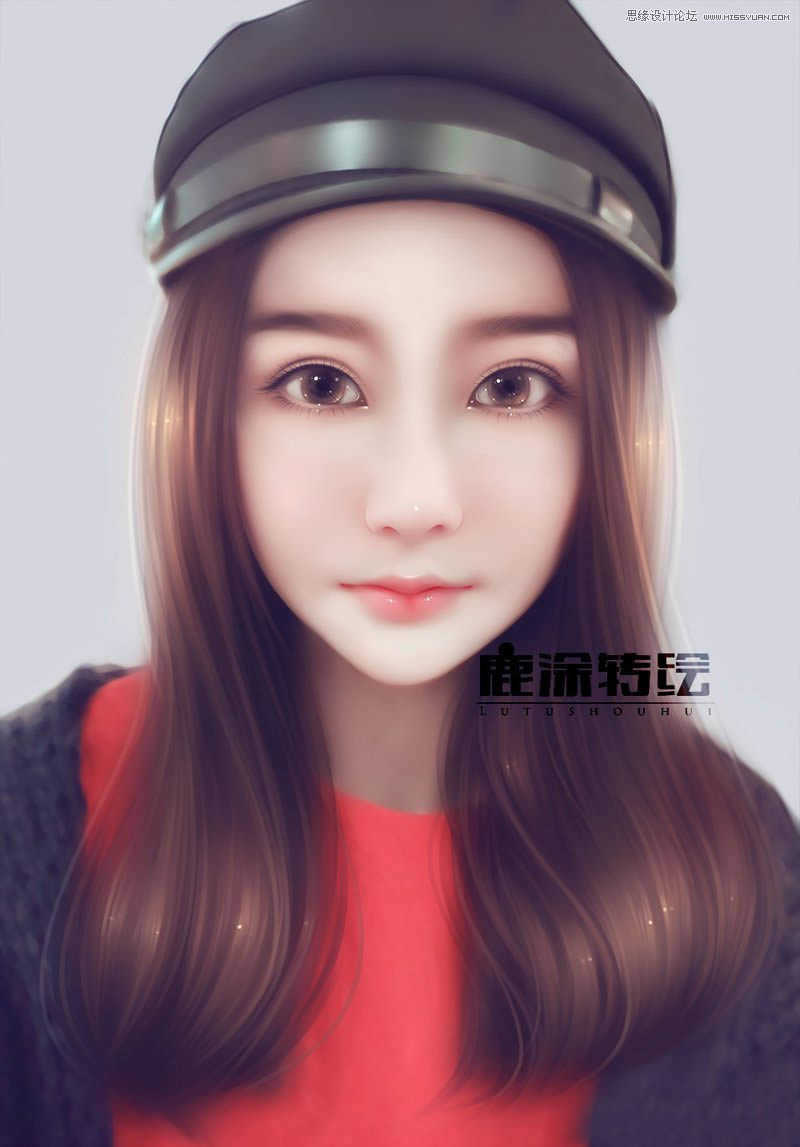
最终效果
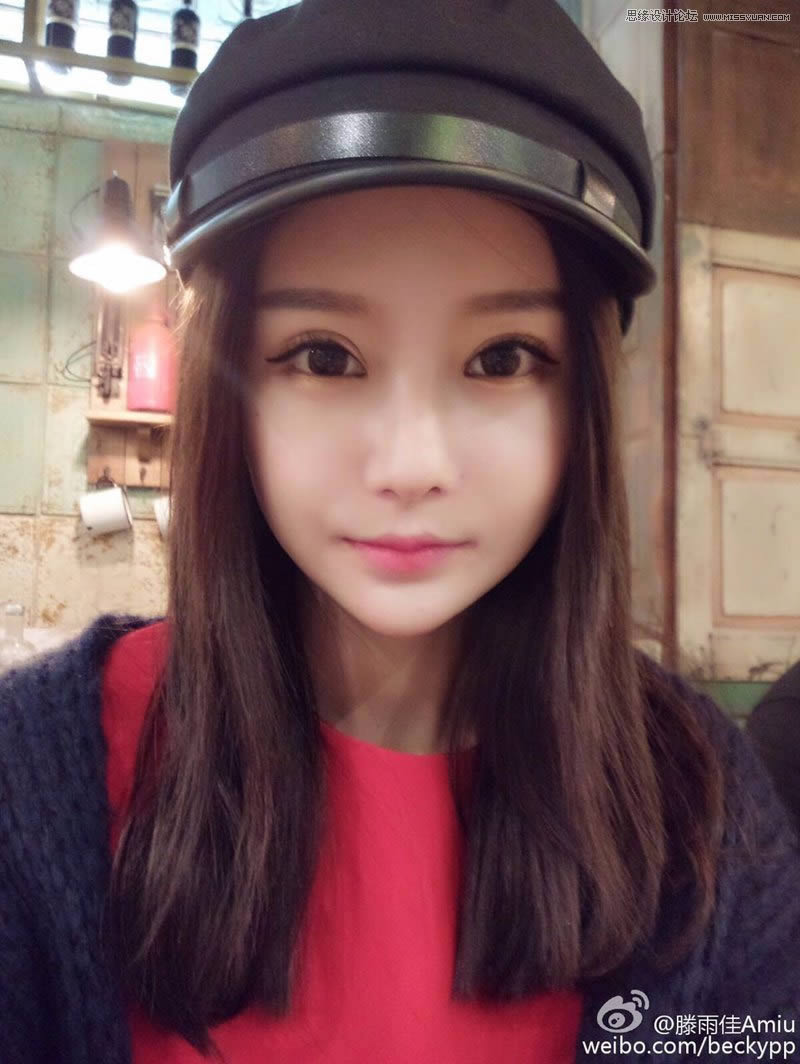
原图
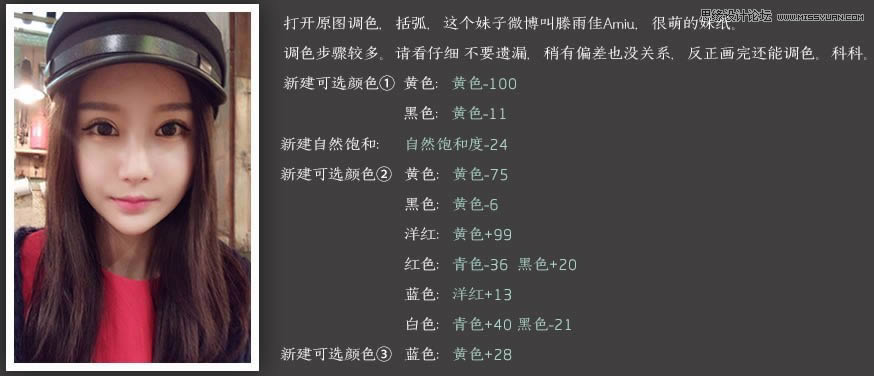
1、打开原图,然后调色。
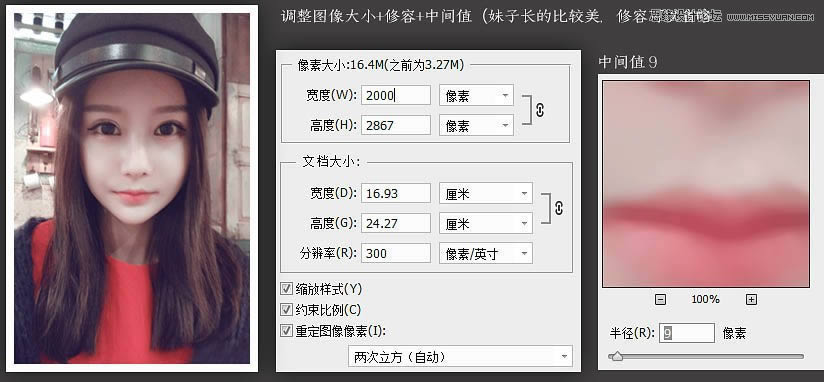
2、调整图像大小,修图,中间值磨皮。
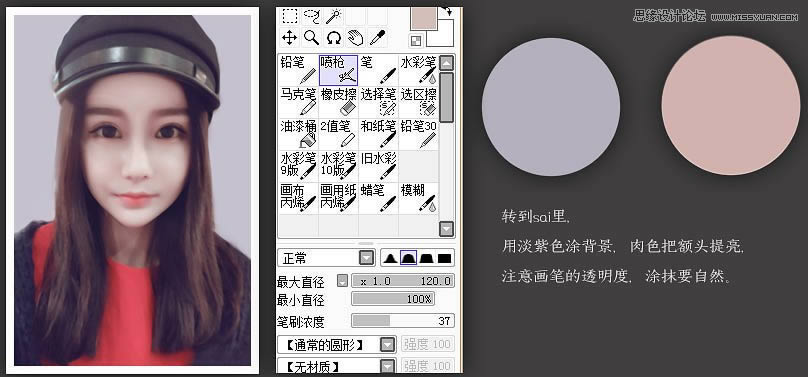
3、转到SAI后用淡紫色涂背景。
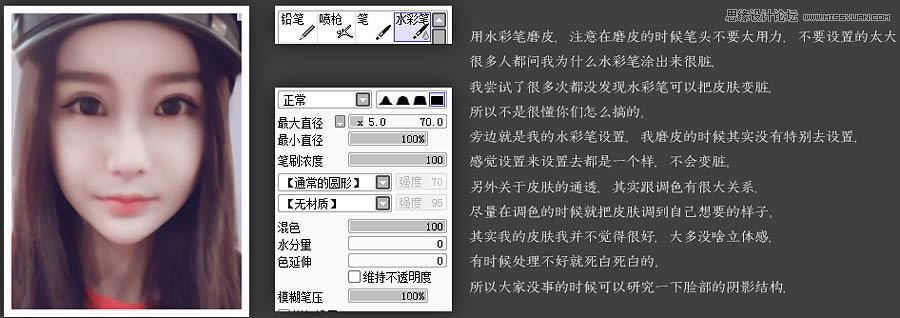
4、用水彩笔磨皮。
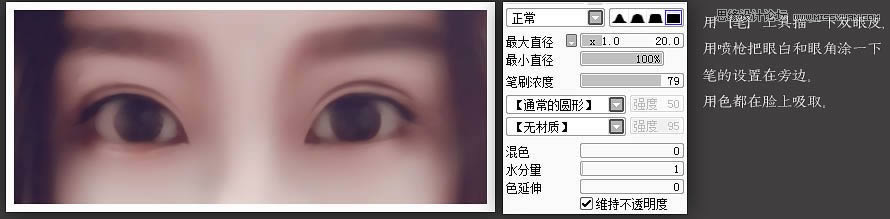
5、用工具描一下双眼皮,用喷枪把眼白和眼角涂一下。
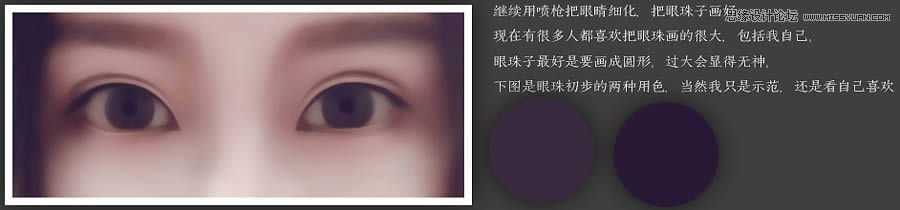
6、继续用喷枪把眼睛细化,把眼珠子画好。
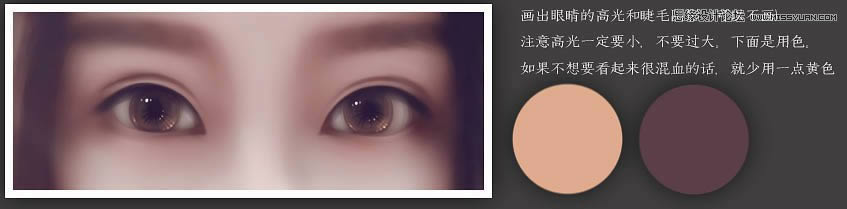
7、画出眼睛的高光和睫毛阴影。
8、画出睫毛和小高光。

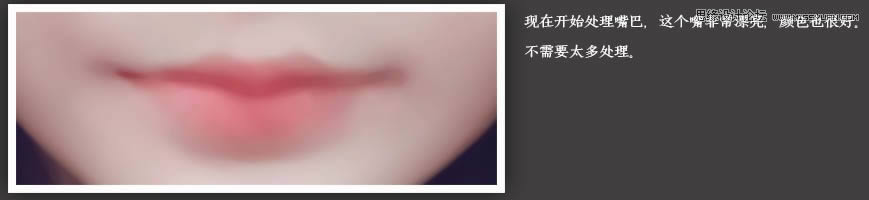
9、现在开始处理嘴巴。
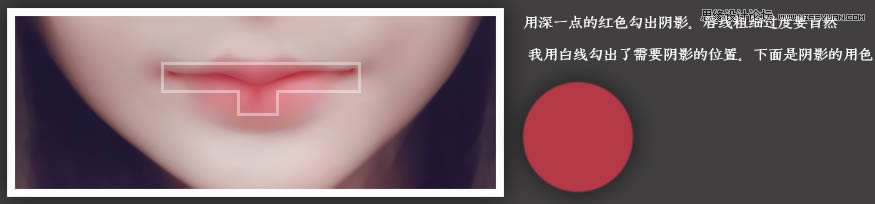
10、用深一点的红色勾出阴影,唇线粗细过渡要自然。
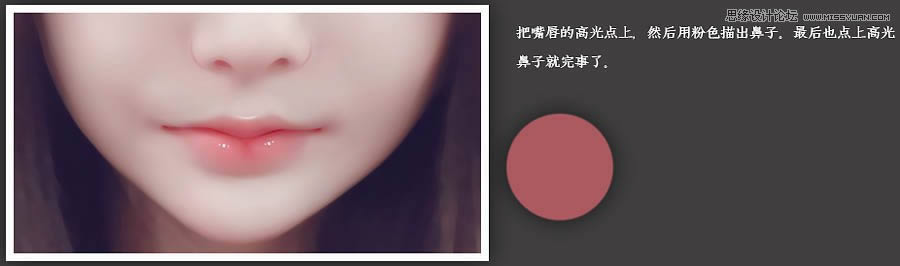
11、把嘴唇的高光点上,然后用粉色描出鼻子。
12、画眉毛。
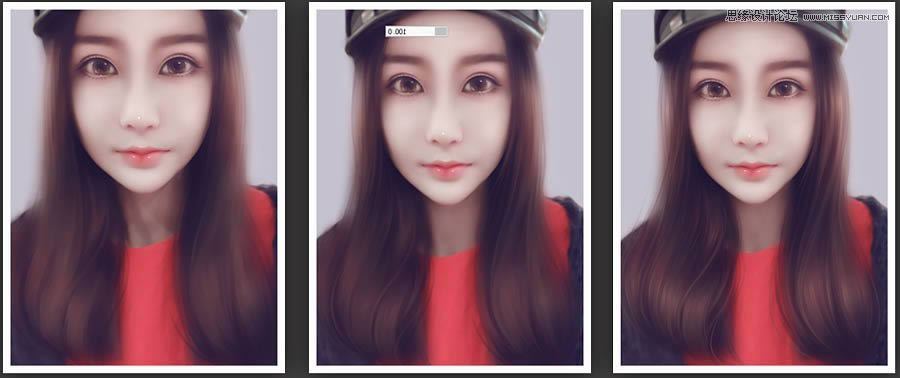
13、用水彩笔把头发模糊,尤其是旁边的地方。

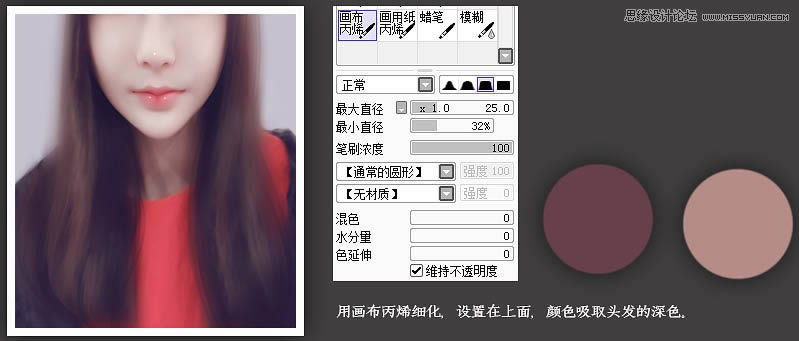
14、用画布丙烯细化。
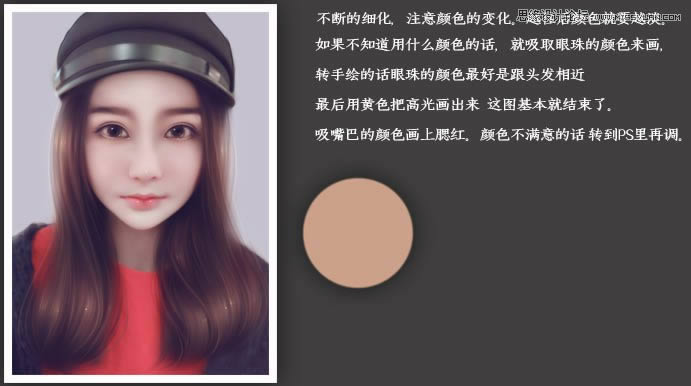
15、不断的细化,注意颜色的变化。
最终效果:
Photoshop默认保存的文件格式,可以保留所有有图层、色版、通道、蒙版、路径、未栅格化文字以及图层样式等。
关键词:把可爱女孩头像照片转手绘效果的PS图文教程